iOS
This tutorial will guide you through the steps of putting a Ride Request Button into your iOS app, and optionally displaying realtime information on that button to provide a better user experience.
At the end of this tutorial, you will have either a deep link button, or a deep link button with realtime information.
Deep link button

Button with realtime info displayed
You can achieve this with about 10 lines of code for the button, and about 20 lines of code for the button with realtime information.
¶ Your iOS Project
We can create a new Single View Application project to demonstrate how to begin using the SDK. In XCode, choose File > New > Project and when prompted to “Choose a template for your new project”, select Single View Application and click Next.
In the next screen, set the Product Name field to any name you want, leave everything else as the default and click Next. Choose which folder you want to save the project to and click Create. You now have a boilerplate app with just one view!
¶ Add the SDK to your project
There are currently two ways to add the Uber Rides iOS SDK to your project:
Using a dependency manager such as Carthage or CocoaPods makes it easy to keep your app updated with the latest version of the SDK.
¶ CocoaPods
The Uber Rides iOS SDK is a CocoaPod written in Swift. You can install CocoaPods with the following command:
$ gem install cocoapods
To integrate Uber Rides into your Xcode project, navigate to the directory that contains your project and create a new Podfile with pod init. Add the following under your Podfile’s target:
target 'Your Project Name' do
  use_frameworks!
  pod 'UberRides', '~> 0.9'
end
Then, run the following command to install the dependency:
$ pod install
Next, close your Xcode project. In your project folder, you should see another file alongside your .xcodeproj file: the .xcworkspace file. Open the .xcworkspace file.
Congratulations, you’ve added the Uber Rides iOS SDK into your project using CocoaPods! Next, you have to configure the sdk.
¶ Carthage
You can integrate Uber Rides into your project using Carthage. You can install Carthage (with XCode 7+) via homebrew:
brew update
brew install carthage
To install UberRides via Carthage, you need to create a Cartfile. In the root directory of your project, run the following command:
touch Cartfile
In the editor of your choice open the file and add the following:
# UberRides
github "uber/rides-ios-sdk" ~> 0.9
Now run the following command to checkout & build our repo and dependencies.
carthage update --platform iOS
You should now have a Carthage/Build folder in your project directory. Open your .xcodeproj and go to the General settings tab. In the Linked Frameworks and Libraries section, drag and drop each framework (in Carthage/Build/iOS)
Now, open your application target’s Build Phases settings tab, click the + icon, and select New Run Script Phase. Add the following to the script area:
/usr/local/bin/carthage copy-frameworks
and add the paths to the required frameworks in Input Files
$(SRCROOT)/Carthage/Build/iOS/UberRides.framework
Congratulations, you’ve added the Uber Rides iOS SDK into your project using Carthage! Next, you have to configure the sdk.
¶ Configuring the SDK
To begin making calls to the Uber API, you need to register an application on the Uber Developer Site and get credentials for your app.
Then, configure your Xcode with information for the Uber SDK. Locate the Info.plist file for your application. Right-click this file and select Open As > Source Code
Add the following code snippet, replacing the placeholders within the square brackets ([]) with your app’s information from the developer dashboard. (Note: Do not include the square brackets)
<key>UberClientID</key>
<string>[ClientID]</string>
<key>UberDisplayName</key>
<string>[App Name]</string>
<key>LSApplicationQueriesSchemes</key>
<array>
    <string>uber</string>
    <string>uberauth</string>
</array>
¶ Adding A Simple Button
We can add a button that simply opens the Uber App to the view. We’ll go into the View Controller and add the RideRequestButton. First, open up ViewController.swift and import UberRides:
// Put this line after import UIKit
import UberRides
Now, we can insert the button into the view inside the function viewDidLoad(). Add these lines into the end of the function
let button = RideRequestButton()
view.addSubview(button)
After that, viewDidLoad() should now look like this:
override func viewDidLoad() {
    super.viewDidLoad()

    // ride request button
    let button = RideRequestButton()

    //put the button in the view
    view.addSubview(button)
}
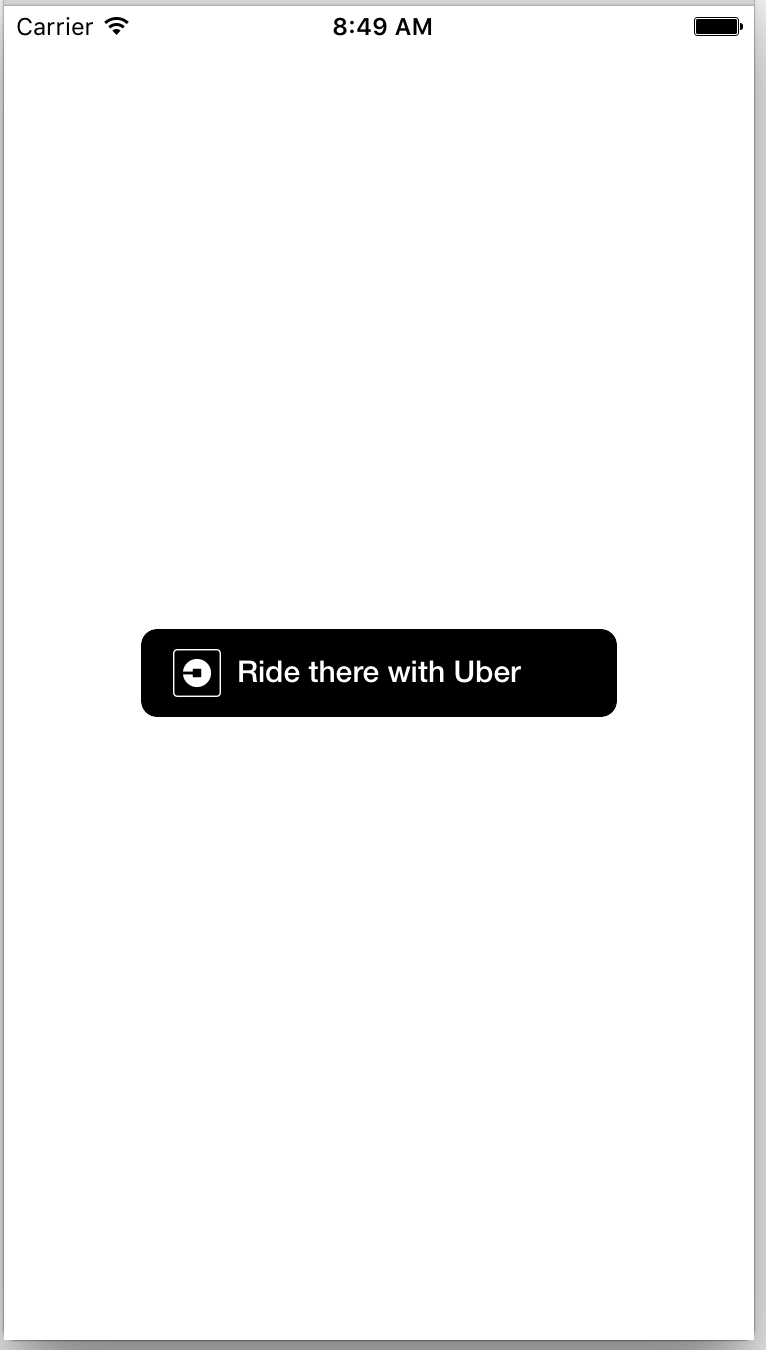
Click the Build button, and you should see something that looks like this:
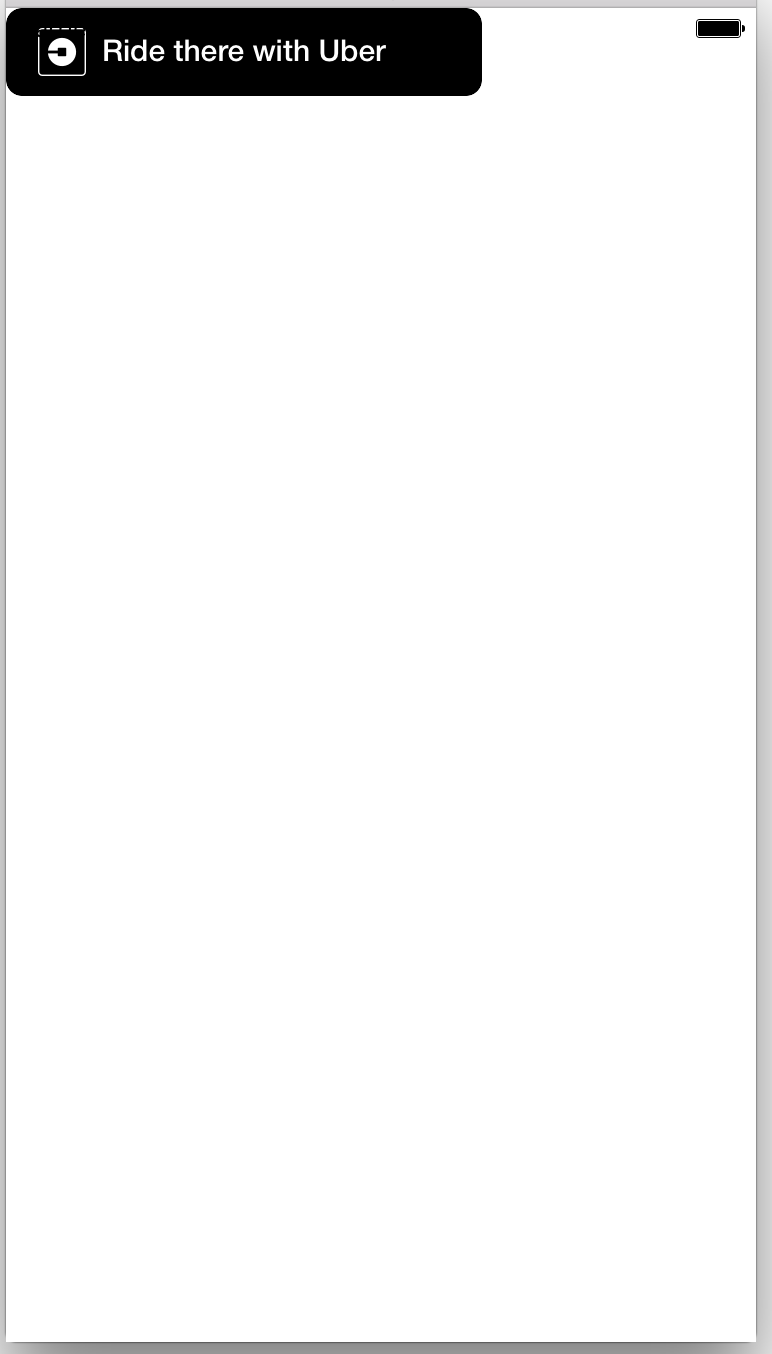
Off-center button, oh no!
Looks like the button is not centered! We can add this line before view.addSubview(button) to center it.
button.center = view.center
Click the Build button again, and you should now see the button in the center! Now, this is how viewDidLoad() should look like:
override func viewDidLoad() {
  super.viewDidLoad()

  // ride request button
  let button = RideRequestButton()

  // center button
  button.center = view.center

  //put the button in the view
  view.addSubview(button)
}
¶ Optional: Color Theme
The button currently supports two color themes:
- Black background with white text (default)
- White background with black text
To use the second color theme, you can set the colorStyle attribute like this:
button.colorStyle = .white // White Background, Black Text
¶ Passing Parameters to the Button
This button will Deeplink into the Uber App and will simply open up the app, because we did not pass any parameters to it. The Ride Request Button can accept optional parameters to pre-load some information into the ride request.
Let’s say we want to make it easy for users to get an Uber to the San Francisco International Airport (SFO). The latitude and longitude of this location is:
latitude: 37.6213129,
longitude: -122.3789554
We can pass the destination parameters to the Ride Request Button so that the destination will be pre-populated when the app opens. We’ll need to use the RideParametersBuilder() to set these parameters into the button.
First, we’ll need to import CoreLocation. Put this under import UberRides we had earlier.
import CoreLocation
Next, let’s create a CLLocation object using the latitude and longitude we found earlier for our destination, San Francisco International Airport.
let dropoffLocation = CLLocation(latitude: 37.6213129, longitude: -122.3789554)
Next, we’ll use the RideParametersBuilder() to set the destination location. Note that setting either a nickname or address is required. Both these fields are only for displaying a recognizable display text to the user when they see their destination in the Uber App. Setting these values will not override the destination latitude and longitude. For this example, we can just set a nickname. Notice we’re nicknaming the San Francisco International Airport as “Awesome Airport”.
let builder = RideParametersBuilder()
builder.dropoffLocation = dropoffLocation
builder.dropoffNickname = "Awesome Airport"
And lastly, we need to build the parameters and set this into the button.
button.rideParameters = builder.build()
After all that, your viewDidLoad() function should look like this:
override func viewDidLoad() {
  super.viewDidLoad()

  // ride request button
  let button = RideRequestButton()

  // set a dropoffLocation
  let dropoffLocation = CLLocation(latitude: 37.6213129, longitude: -122.3789554)
  let builder = RideParametersBuilder()
  builder.dropoffLocation = dropoffLocation
  builder.dropoffNickname = "Awesome Airport"
  button.rideParameters = builder.build()

  //center the button
  button.center = view.center

  //put the button in the view
  view.addSubview(button)
}
Build the project again, and we should see the button just as it was before, but now it can set a destination when it opens the Uber App. Build the app on your phone, and tap it to try it out! You should see the “Awesome Airport” in the destination field inside the Uber App.
Check out this setPickup reference to find out a list of deep link parameters.
Congratulations! You’ve successfully used the SDK to get a Ride Request Button into your app.
We’re working hard to provide you with more step by step instructions for all Uber products. Stay tuned! In the meantime, you can and check out the Uber Rides iOS SDK on GitHub for more cool stuff!