Android
This tutorial will guide you through the steps of putting a Ride Request Button into your Android app, and optionally displaying realtime information on that button to provide a better user experience.
At the end of this tutorial, you will have either a deep link button, or a deep link button with realtime information.
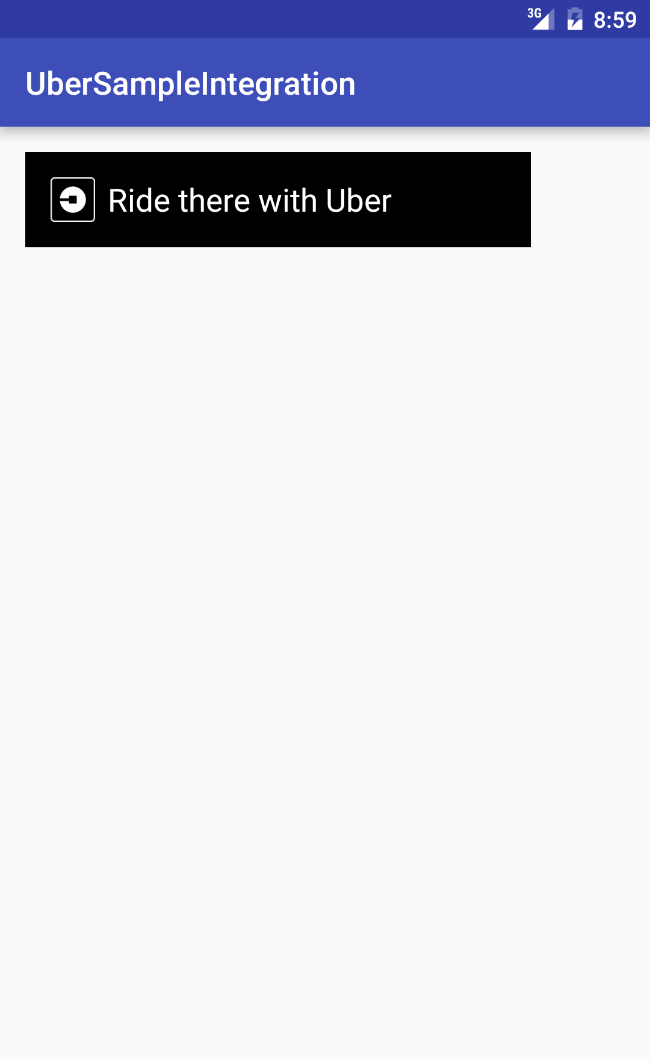
Deep link button
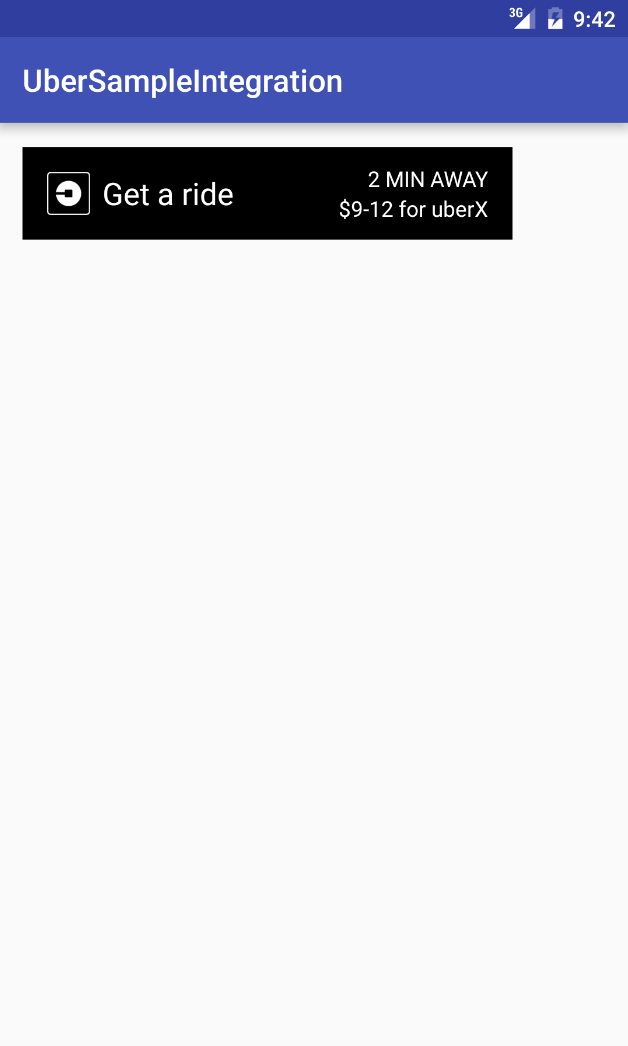
Button with realtime info displayed
You can achieve this with about 10 lines of code for the button, and about 20 lines of code for the button with realtime information.
¶ Your Android Project
We can create a new Empty Activity project to demonstrate how to begin using the SDK. In Android Studio, choose Start a new Android Studio Project and when prompted to Add an Activity to Mobile, select Empty Activity and click Next.
In the next screen, set the Activity Name field to any name you want, leave everything else as the default and click Finish. You now have a boilerplate app with just one activity!
¶ Add the SDK to your project
The best way to integrate the SDK into your existing project is to use a dependency manager. The SDK can be added to Maven or Gradle based projects. The following sections will focus on the respective dependency manager you use within your project.
Using a dependency manager such as Maven or Gradle makes it easy to keep your app udpated with the latest version of the SDK.
¶ Gradle
The following steps assume that you have successfully set up a Gradle project. To learn about Gradle, please refer to the official user guide.
In your Gradle project, navigate to your build script (build.gradle) and open it. Now, identify the dependencies section in your file and add the SDK as an external module dependency:
dependencies {
    compile 'com.uber.sdk:rides-android:0.5.3'
}
Now, use the IDE of your choice or a CLI like Gradlew to fetch the SDK resources and build your project.
¶ Maven
The following steps assume that you have successfully set up a Maven project. To learn about Maven, please refer to the official documentation.
In your Maven project, navigate to the pom.xml file and open it. Now, identify the dependencies section in your file and add the SDK as a new dependency project:
<dependencies>
<dependency>
<groupId>com.uber.sdk</groupId>
<artifactId>rides-android</artifactId>
<version>0.5.3</version>
</dependency>
</dependencies>
Finally, use the IDE of your choice or the maven command line interface mvn to fetch the SDK resources and build your project.
¶ Configure the SDK
Congratulations, you’ve added the Uber Rides Android SDK into your project! Next, you have to configure the SDK. More specifically, you have to define your Uber app details obtained from the developer dashboard.
In your application, create a SessionConfiguration builder object. Ultimately, this object will be passed to to the UberSdk class to initialize a new client object with the correct configuration properties.
The configuration builder has several methods to define a variety of settings. To keep things simple, set them all for now (even though some features might use only a subset of them):
import com.uber.sdk.android.core.UberSdk;
import com.uber.sdk.core.auth.Scope;
import com.uber.sdk.rides.client.SessionConfiguration;
...
SessionConfiguration config = new SessionConfiguration.Builder()
    // mandatory
    .setClientId("<CLIENT_ID>")
    // required for enhanced button features
    .setServerToken("<TOKEN>")
    // required for implicit grant authentication
    .setRedirectUri("<REDIRECT_URI>")
    // optional: set sandbox as operating environment
    .setEnvironment(SessionConfiguration.Environment.SANDBOX)
    .build();
Finally, you can initialize the SDK with the config object:
UberSdk.initialize(config);
With that, you are all set to use the SDK!
The following steps will assume that you created a new Android app with an empty activity - just to keep things simple!
¶ Add a button
The button is implemented as a View and thus can be added to your View just like any other View, either procedural (using Java) or declarative (using XML).
¶ Procedural (Java)
First, you have to import the RideRequestButton:
import com.uber.sdk.android.rides.RideRequestButton;
Now you can add the simple button like this:
// get the context by invoking ``getApplicationContext()``, ``getContext()``, ``getBaseContext()`` or ``this`` when in the activity class
RideRequestButton requestButton = new RideRequestButton(context);
// get your layout, for instance:
// RelativeLayout layout = (RelativeLayout) findViewById(R.id.activity_main);
layout.addView(requestButton);
¶ Declarative (XML)
First, you should ensure to use the Uber XML namespace in your root view element: xmlns:uber="http://schemas.android.com/apk/res-auto"
Next, you can add the button to your view:
<com.uber.sdk.android.rides.RideRequestButton
  android:layout_width="wrap_content"
  android:layout_height="wrap_content"
  uber:ub__style="black" />
Congratulations, you should now see the simple button in your application.
¶ Customize button parameters
By default, the button will Deeplink to the Uber app with the pickup pin set to the user’s current location. However, the user would still need to select a product (e.g. UberPOOL) and input the destination. With customized parameters, you can achieve much more seamless integrations.
¶ Procedural (Java)
This integration style allows you to make use of the member functions of the RideRequestButton instance. Please find a list of all the functions below.
| Function | Input Parameter | Description |
|---|---|---|
| setRideParameters | RideParameters |
Parameters for the deeplinking behavior. |
| setRequestBehavior | RideRequestBehavior |
Defines the button action. Can be leveraged to open the Ride Request Widget. |
| setCallback | RideRequestButtonCallback |
Callback to be executed on success or failure. |
| setSession | ServerTokenSession |
Session to be used for request signing. |
| loadRideInformation | none | Retrieve estimates from the server and update the button accordingly. Requires the button to have a Session in addition to RideParameters. |
For our simple button tutorial, we will just make use of the setRideParameters function. We can use the RideParameters Builder method to get a RideParameters object:
RideParameters rideParams = new RideParameters.Builder()
  // Optional product_id from /v1/products endpoint (e.g. UberX). If not provided, most cost-efficient product will be used
  .setProductId("a1111c8c-c720-46c3-8534-2fcdd730040d")
  // Required for price estimates; lat (Double), lng (Double), nickname (String), formatted address (String) of dropoff location
  .setDropoffLocation(
  37.775304f, -122.417522, "Uber HQ", "1455 Market Street, San Francisco")
  // Required for pickup estimates; lat (Double), lng (Double), nickname (String), formatted address (String) of pickup location
  .setPickupLocation(37.775304f, -122.417522, "Uber HQ", "1455 Market Street, San Francisco")
  .build();
// set parameters for the RideRequestButton instance
requestButton.setRideParameters(rideParams);
¶ Declarative (XML)
With this integration style, you can only define the look & feel of the button. The RideRequestButton offers two color schemes: black and white. To change the schema, you have to set the uber:ub__style property. By default, it’s set to black. You can choose white for a white background with black logo and text displayed in the button.
Great! You’ve successfully used the SDK to get a Ride Request Button into your app. In the next step, you will learn how to leverage advanced RideRequestButton features.
¶ Getting estimates
You need to create a session object in order to request the estimates. This is mandatory because the button issues HTTP requests in the background to two endpoints with authentication through a server token: /v1/estimates/price and /v1/estimates/time
First, you have to import the ServerTokenSession:
import com.uber.sdk.rides.client.ServerTokenSession;
Next, you can create a new Session object. This object will reuse the configuration (config) we created during the setup. Finally, we set the session configuration for the RideRequestButton object:
ServerTokenSession session = new ServerTokenSession(config);
requestButton.setSession(session);
When you run your application, you will notice that the button itself didn’t change. The reason is that we didn’t tell the button to fetch the estimates yet! It’s important to understand that estimate fetching is decoupled from displaying the button. With that, you can decide when and how often the estimates should be fetched (e.g. within an event-listener). Here is how you can fetch and display estimates within the button:
requestButton.loadRideInformation();
Finally, run your application and you should see the enhanced button in your application. Congratulations!
¶ Handle callbacks for rides
The loadRideInformation() method will fetch estimates asynchronously in the background. In your application, you might want to react to the HTTP responses. For that, the SDK enables you to set callback functions. The callback functions are required to implement the RideRequestButtonCallback interface. It allows you to be notified on successfully loaded estimates, API errors, and unexpected errors (e.g. IOException). Here is how you can set the callback:
RideRequestButtonCallback callback = new RideRequestButtonCallback() {

    @Override
    public void onRideInformationLoaded() {
      // react to the displayed estimates
    }

    @Override
    public void onError(ApiError apiError) {
      // API error details: /docs/riders/references/api#section-errors
    }

    @Override
    public void onError(Throwable throwable) {
      // Unexpected error, very likely an IOException
    }
};
requestButton.setCallback(callback);
We’re working hard to provide you with more step by step instructions for all Uber products. In the meantime, you can and check out the advanced section of the Uber Rides SDK on GitHub for more cool stuff!