Steps to Integrate
The SAP Concur - Uber for Business integration allows organizations to automate expense reporting and keep employee access up to date. Admins can enable the integration directly from the Concur App Center using their Uber for Business admin credentials.
To enable the integration, the admin must be both a Concur Admin and an Uber for Business Admin.
¶ For Existing Uber for Business Clients
-
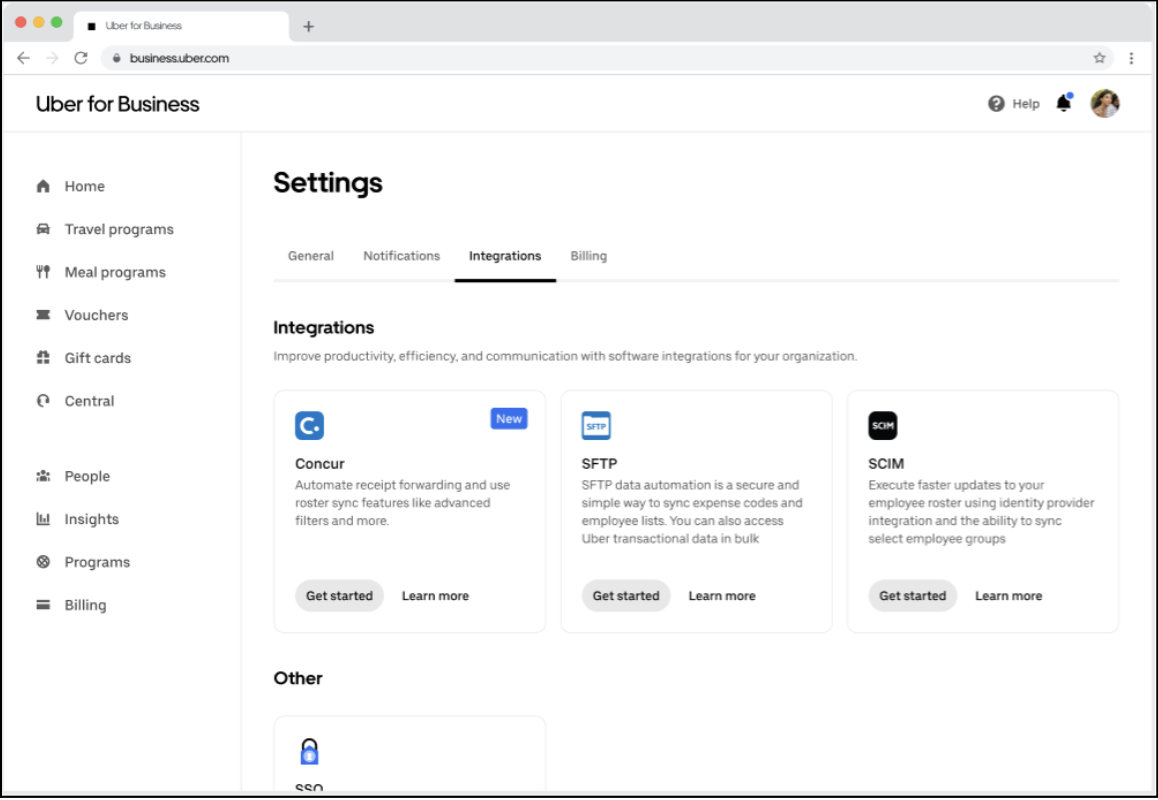
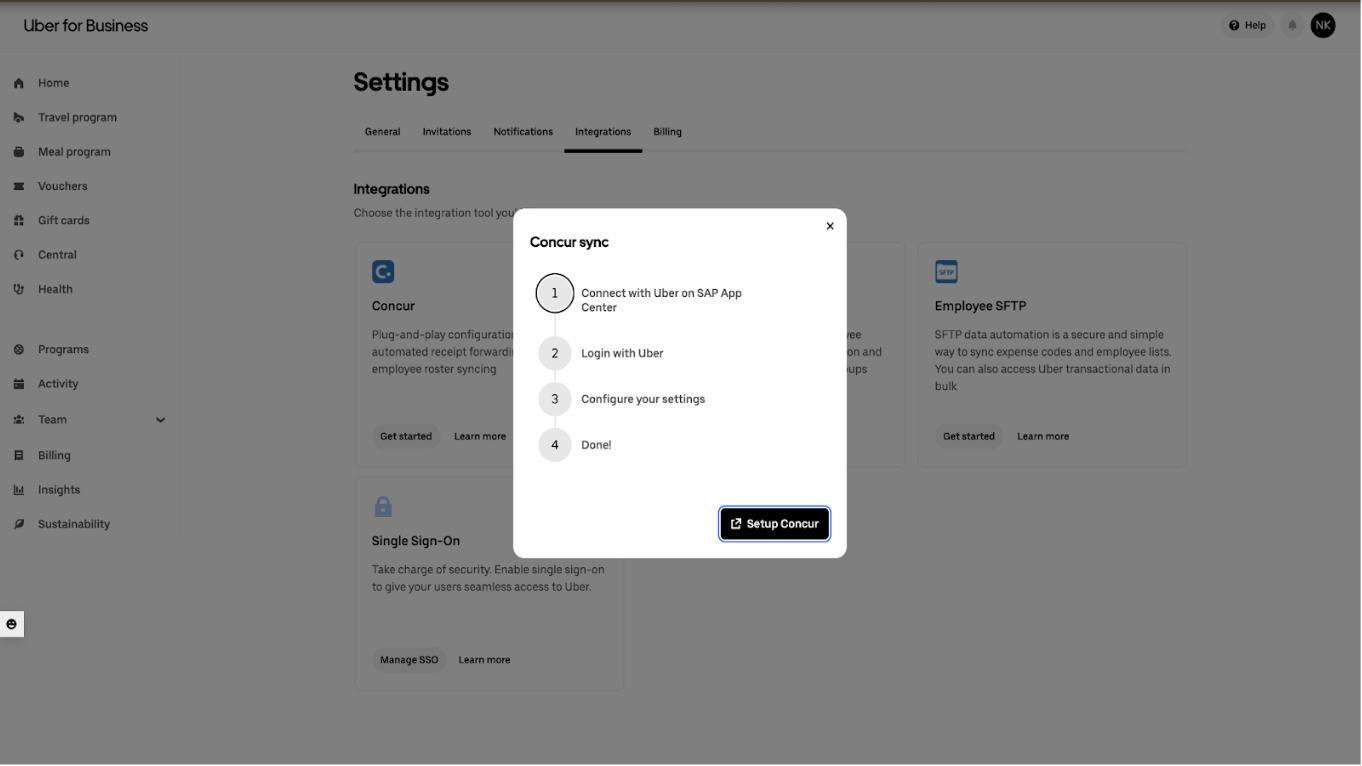
Click on the Profile icon at the top-right corner and navigate to the Integrations section within the dashboard. Select the SAP Concur integration and follow the prompts to link your Concur administrative account.
-
Enable the Integration from the Concur App Center
- Log into your Concur Admin portal.
- Go to the App Center and search for Uber for Business.
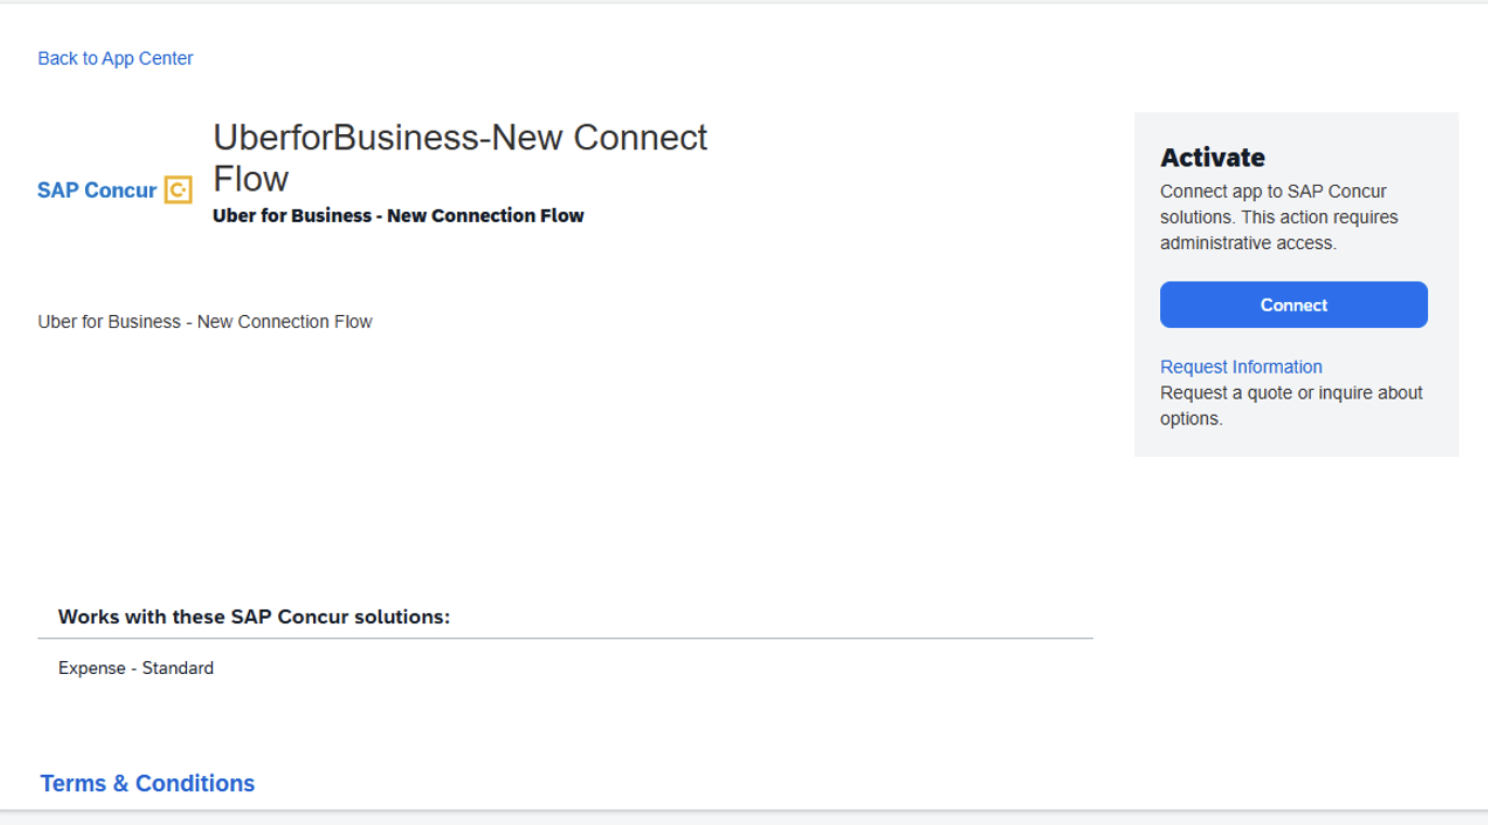
- Click Connect.
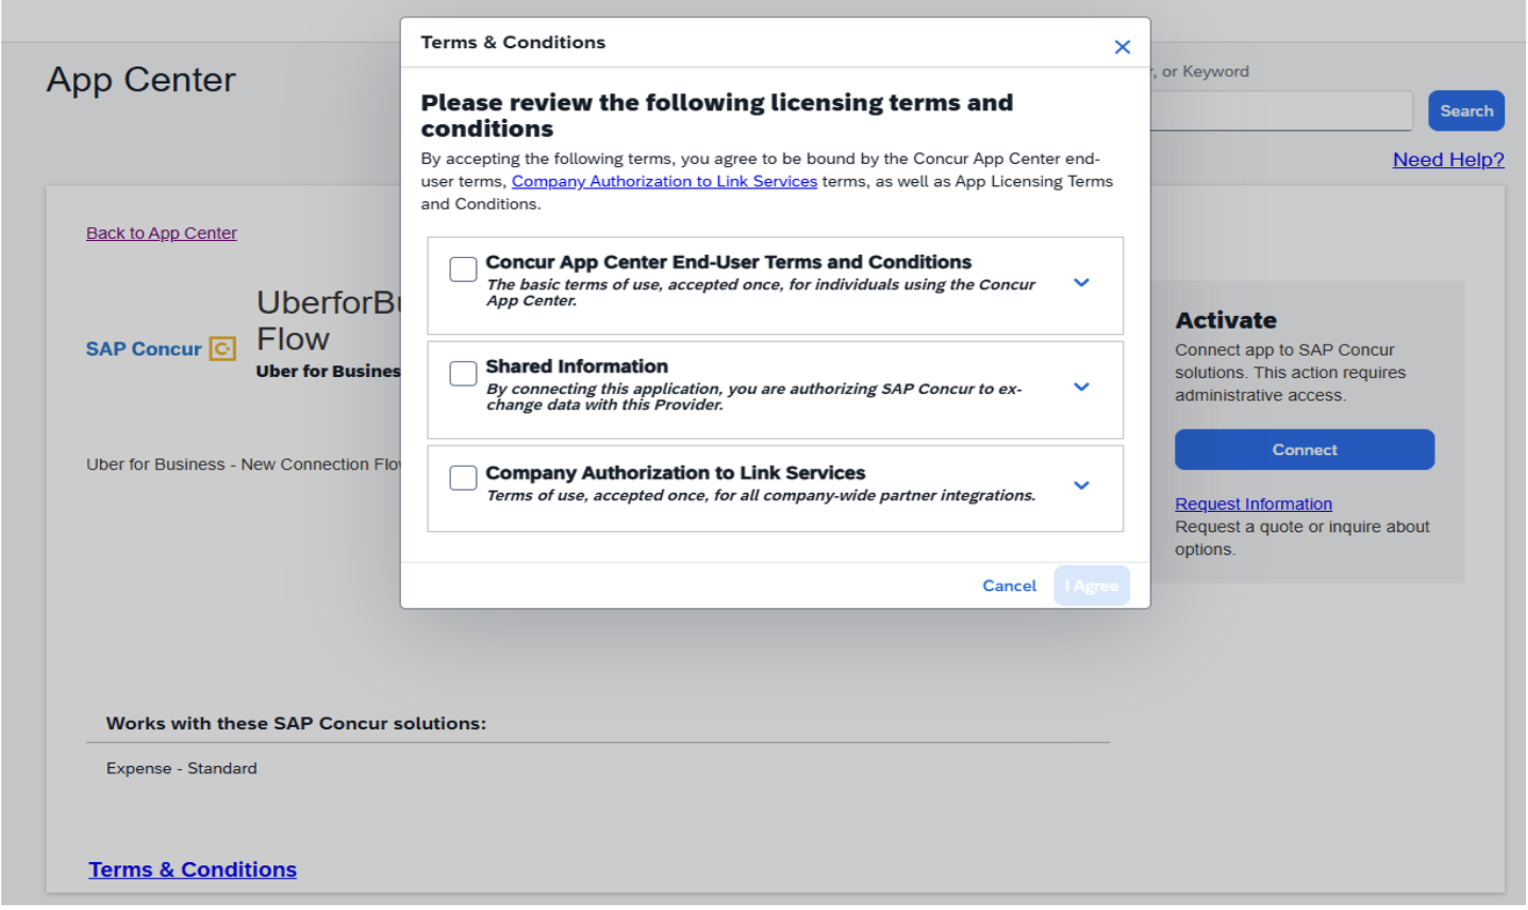
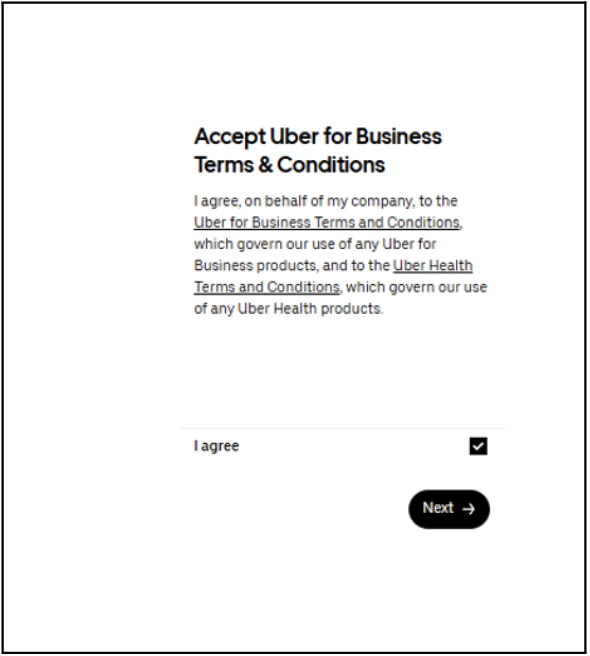
- Review and agree to the Terms & Conditions.
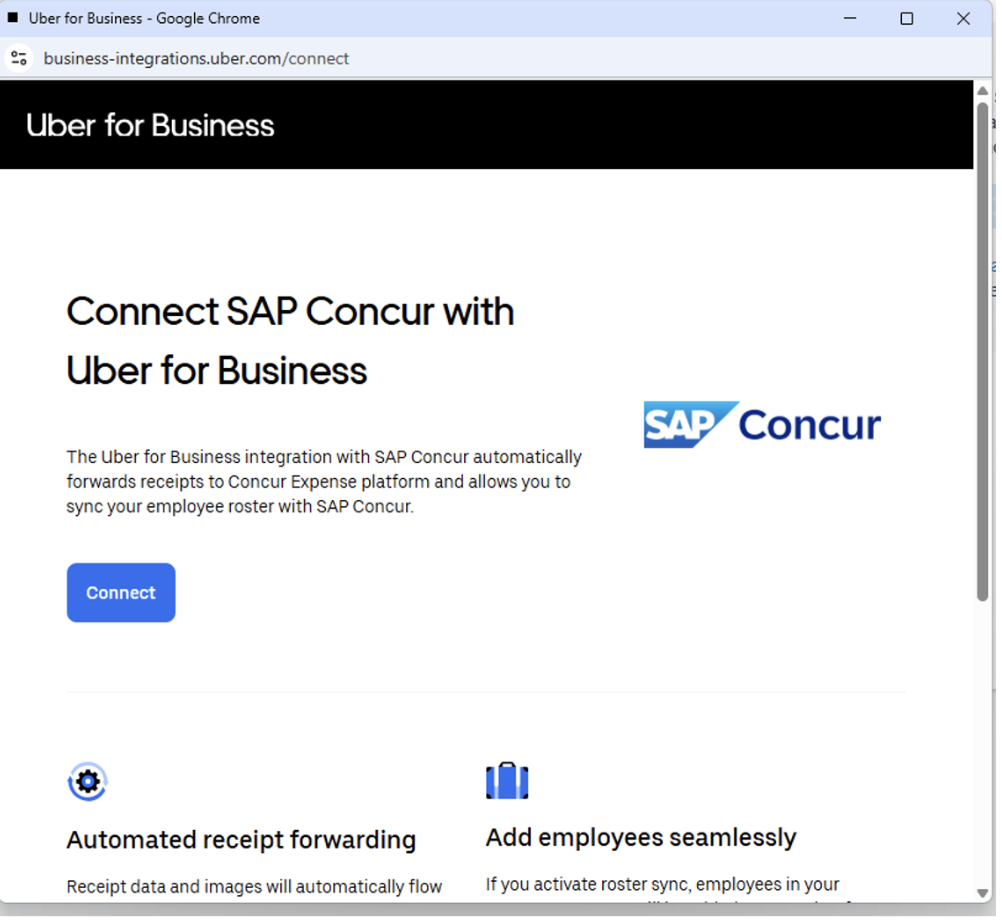
- Click Connect again when redirected to the Uber for Business integration page.
-
Link your Uber for business account
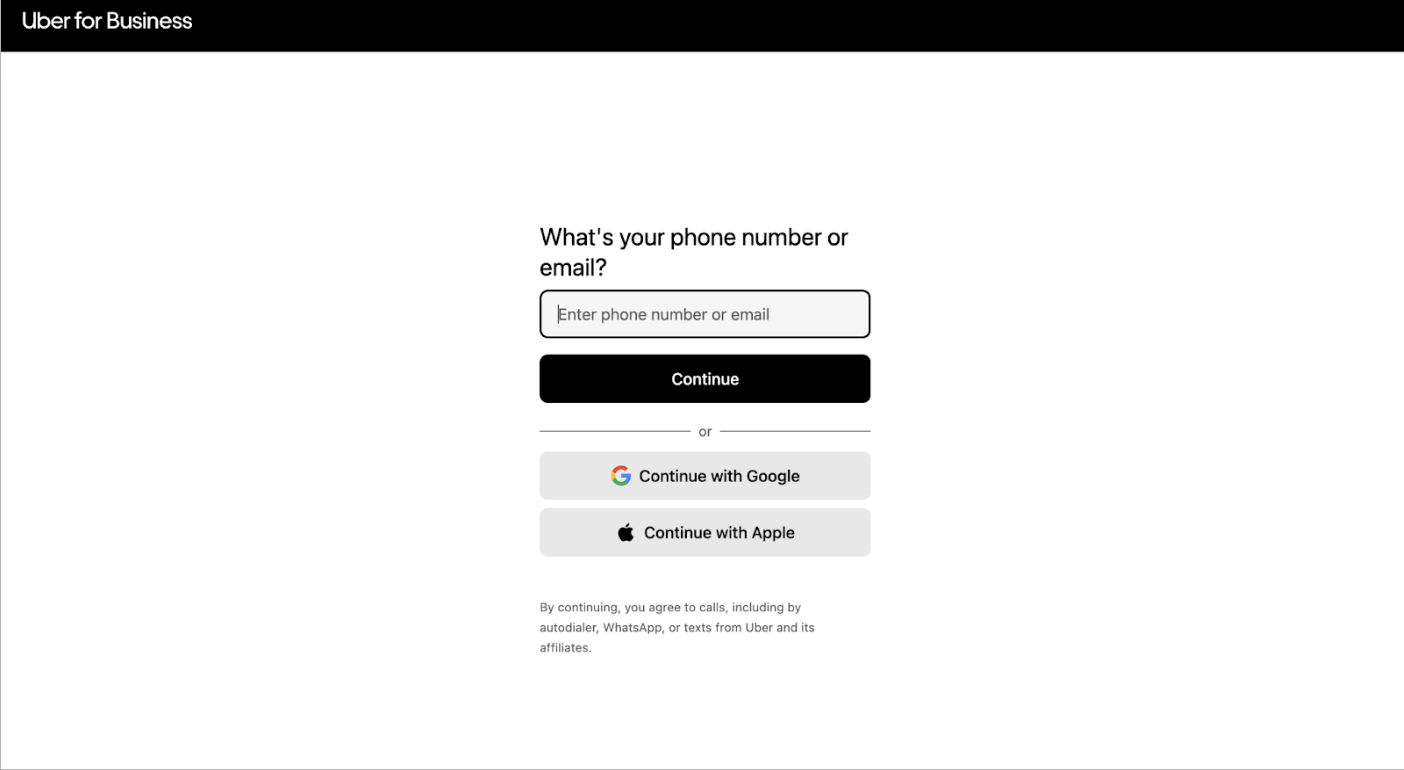
- Enter your Uber for Business admin credentials (work email).
- Select the organization you want to link to Concur
- Confirm the connection and continue setup.

-
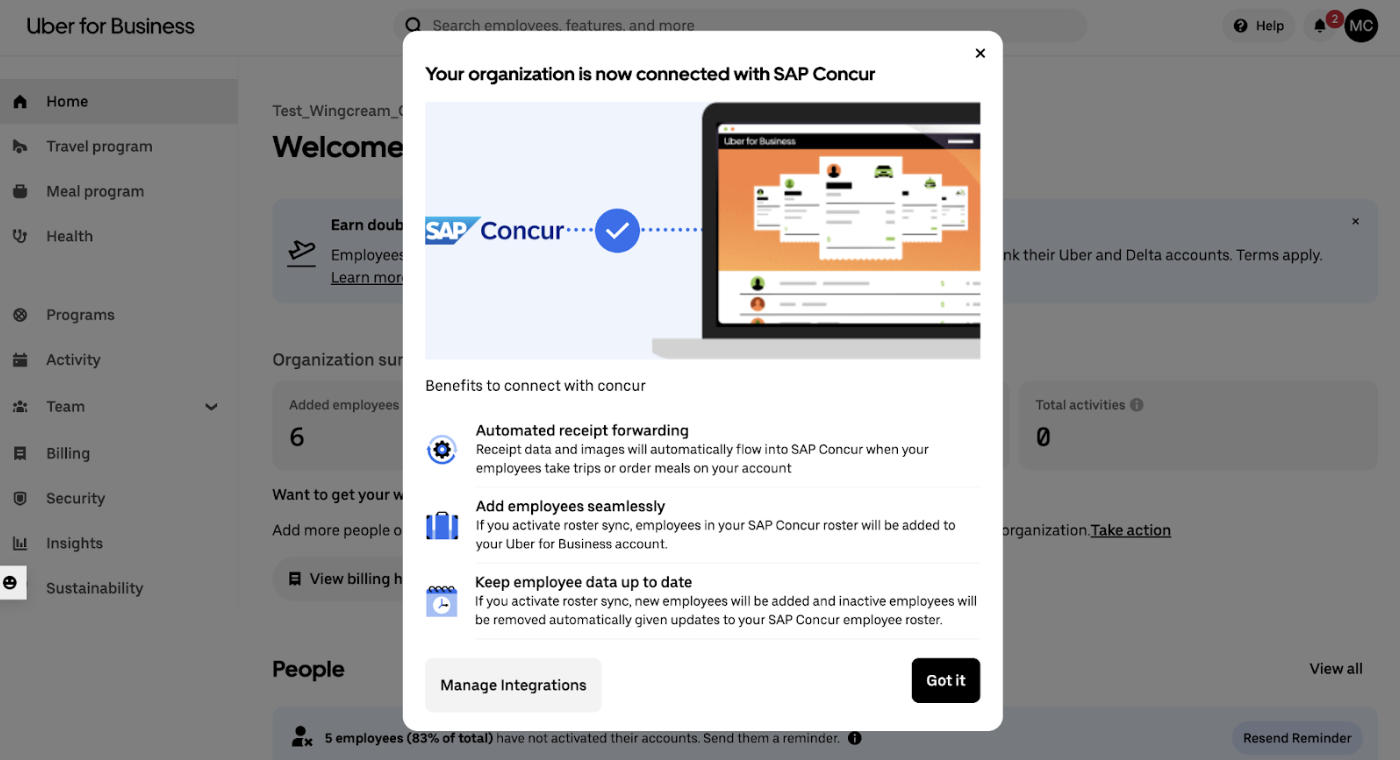
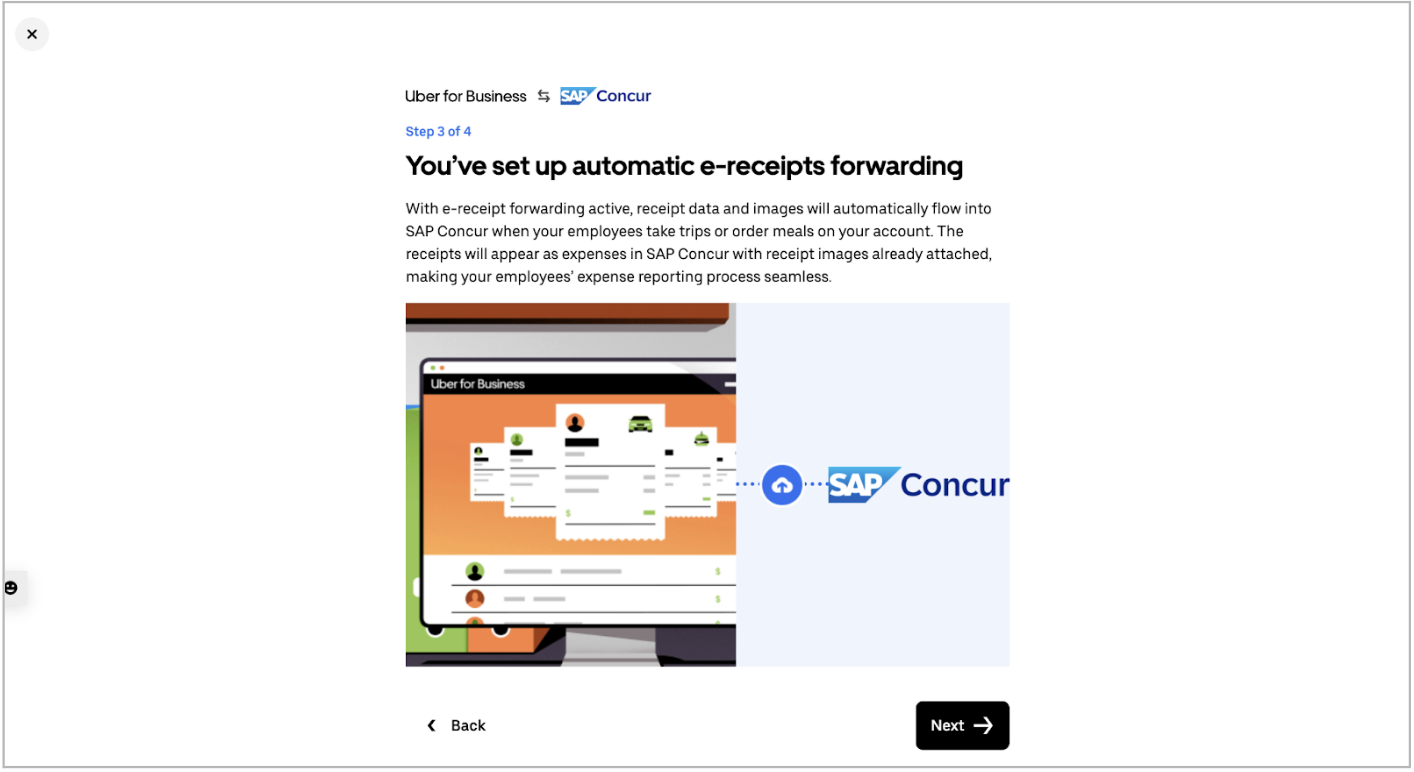
Confirm Integration in Concur Dashboard: You’ll see a confirmation message showing that your organization is now connected with SAP Concur. This screen confirms that:
- Receipt forwarding is active - Uber trip and meal receipts will flow automatically to Concur.
- Roster sync can be enabled to keep your employee list up to date.
- Click Manage Integrations to review settings or enable Partial Roster Sync later.
-
Enable employee roster sync (optional, recommended): Click on Manage integrations and enable the toggle for roster sync.

-
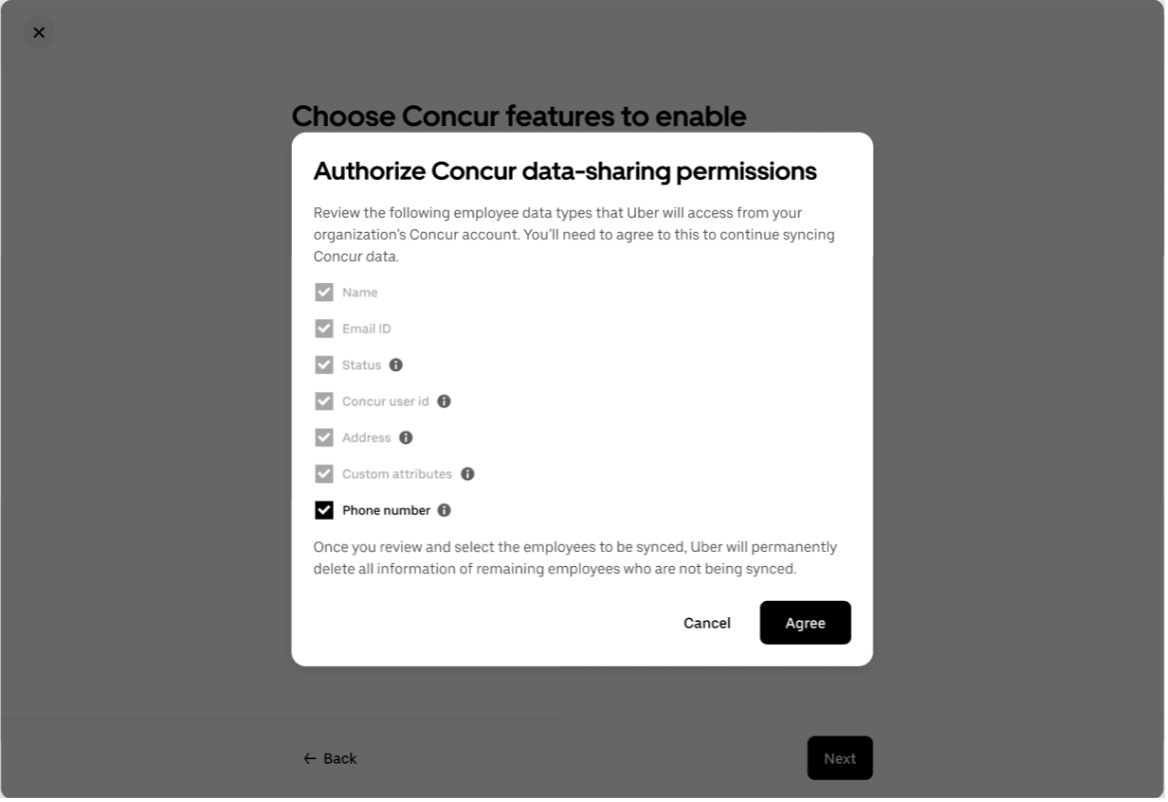
To enable employee roster sync, accept the data-sharing permissions. Once permissions are granted, the system will automatically begin syncing your Concur employee roster.This process may take a little while as the system fetches employee data from Concur. For more information about data sharing between SAP Concur and Uber for Business, refer to this link.

-
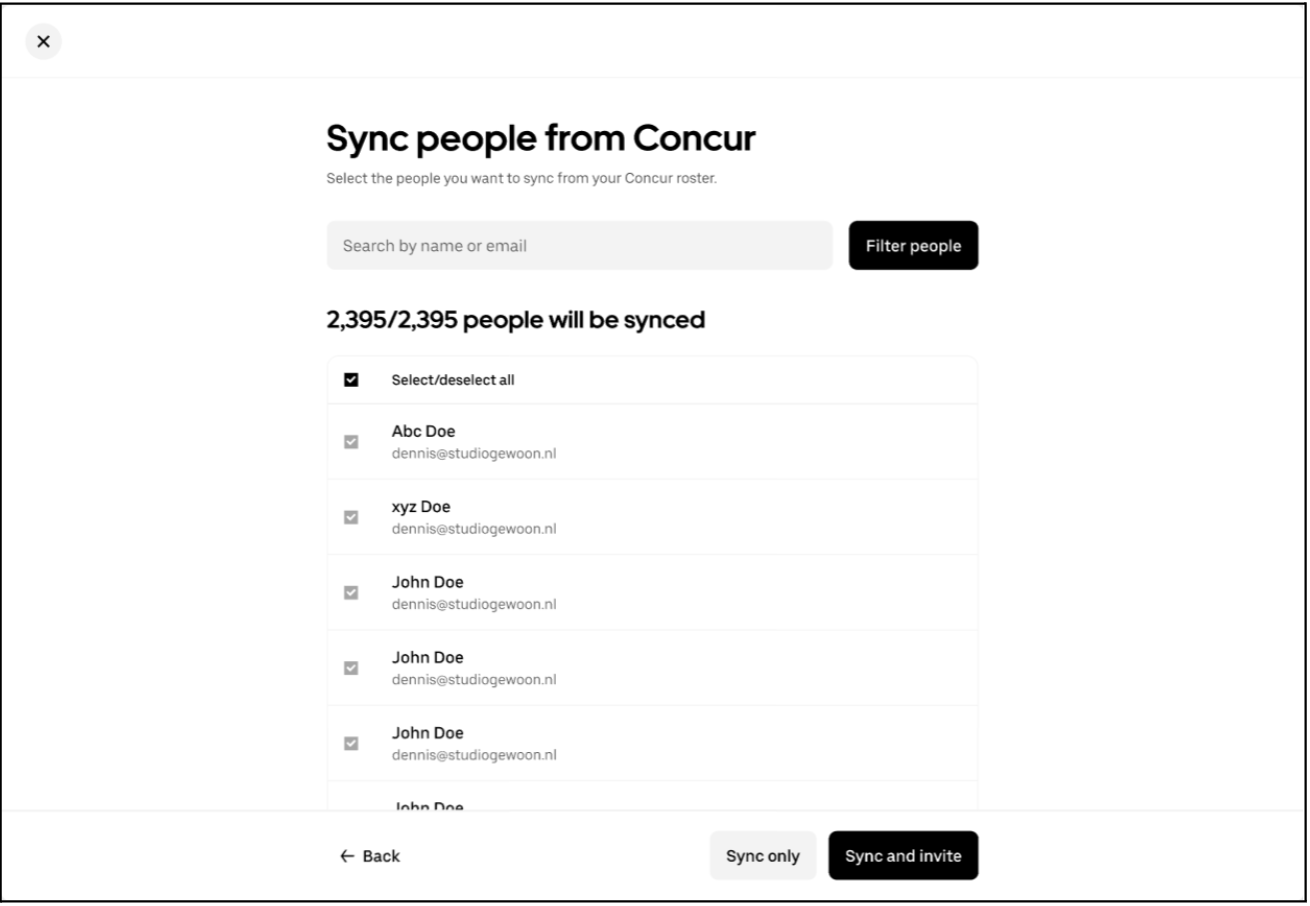
People selection page: You can either select specific people to sync to your Uber for Business dashboard or click on “Filter People” to use advanced filters to select and sync a subset of people to your dashboard.
-
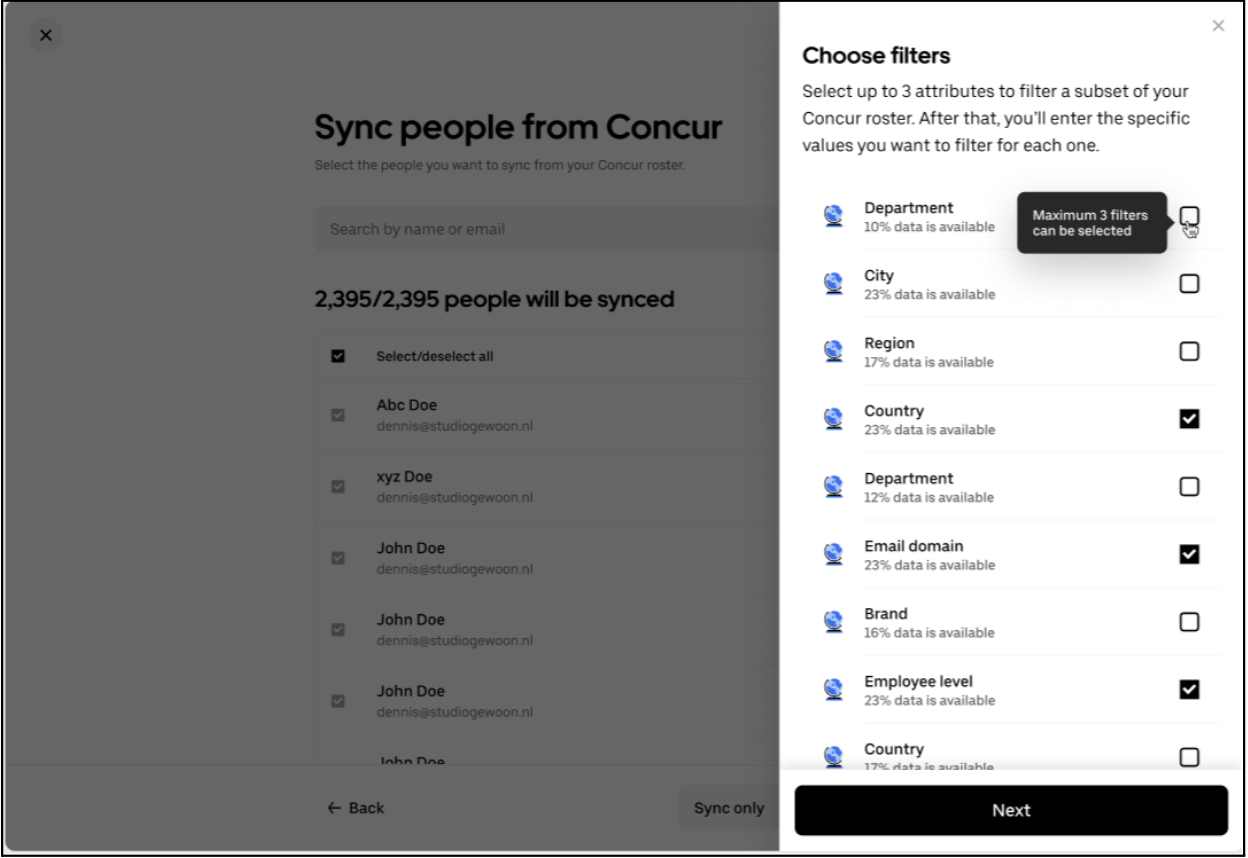
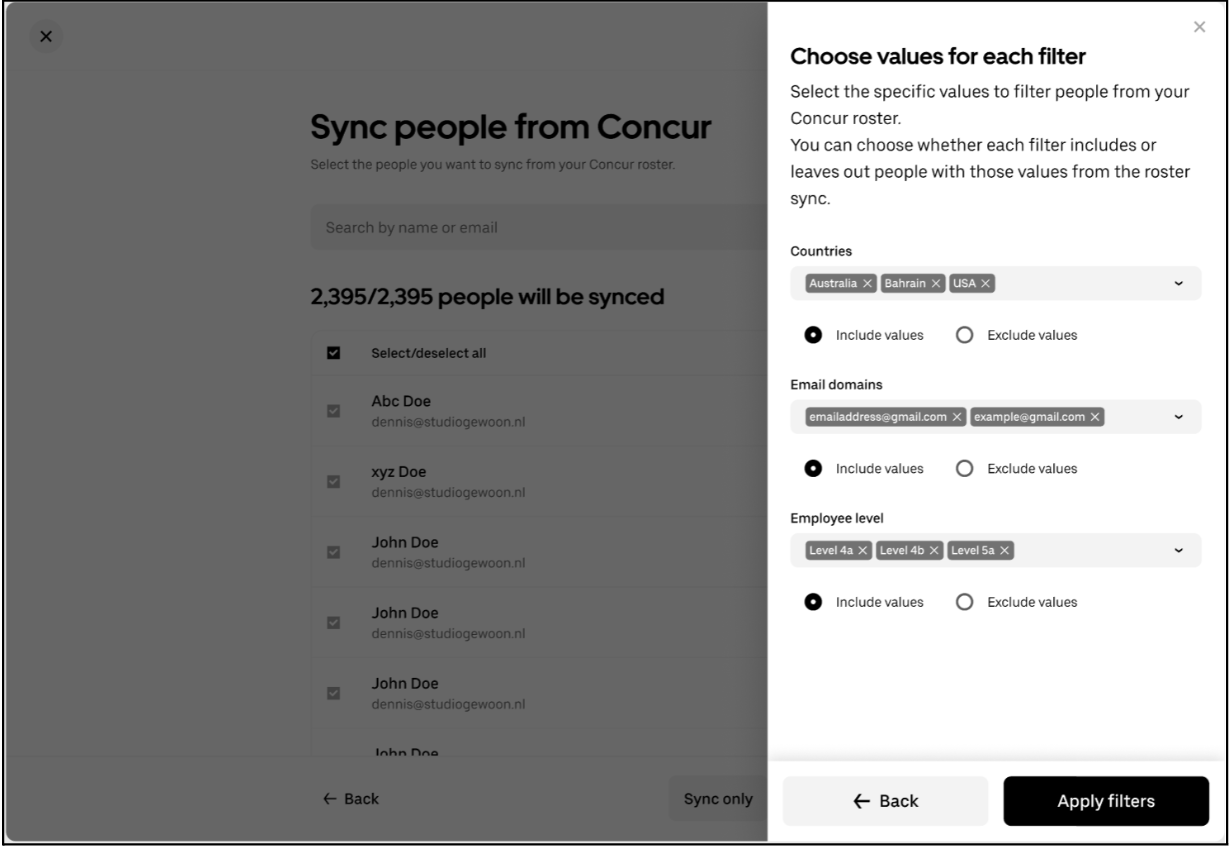
Choose and Apply Filters: Choose up to three filters (examples: Department, Country, Email Domain, or Employee Level etc. as available in your Concur roster). For each filter:
- Select the values to include or exclude (e.g., Country = USA and Australia, or Email Domain ≠ example@gmail.com).
- Add multiple values by separating them with commas.
- Once filters are defined, click Apply filters to confirm.
-
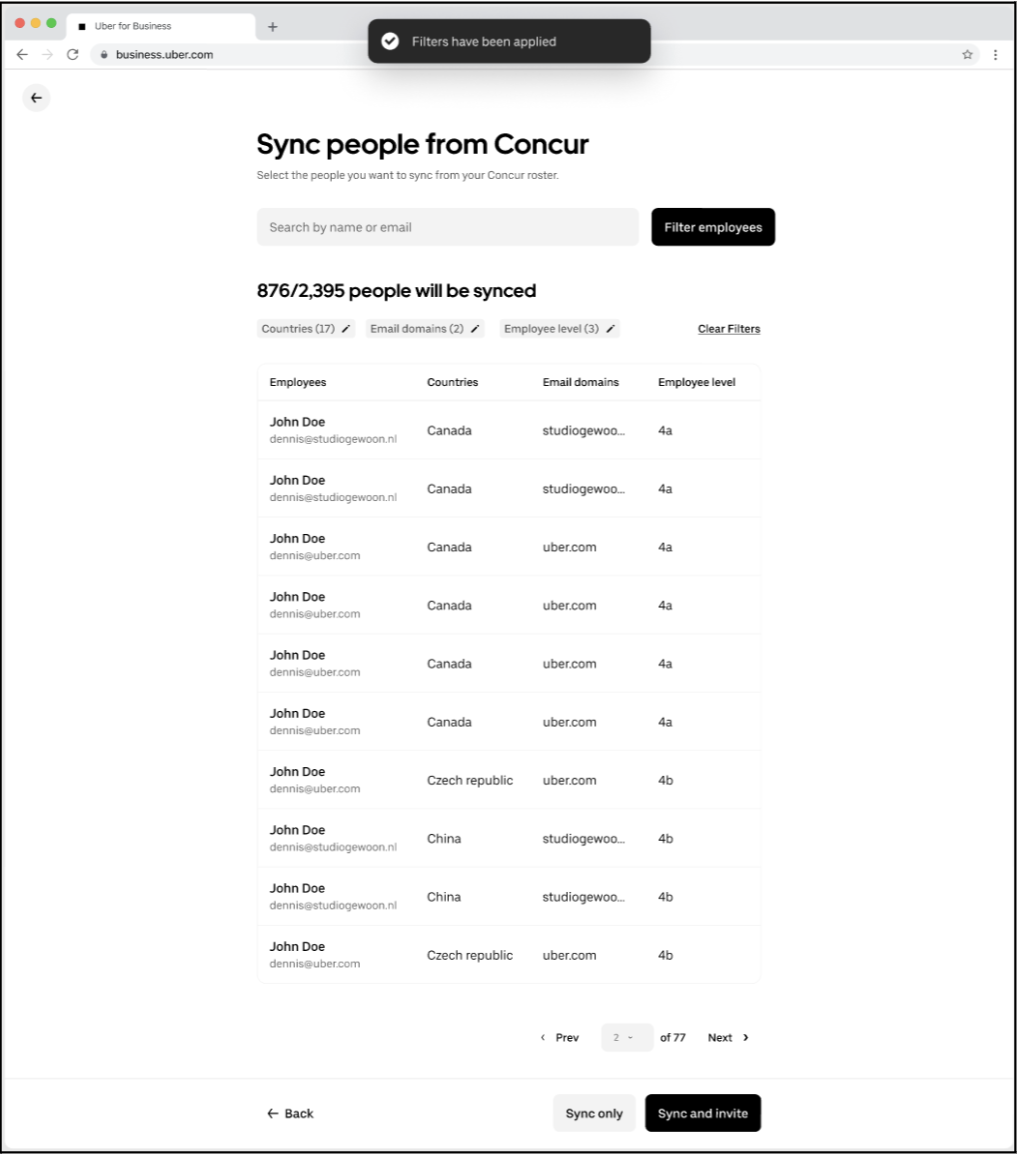
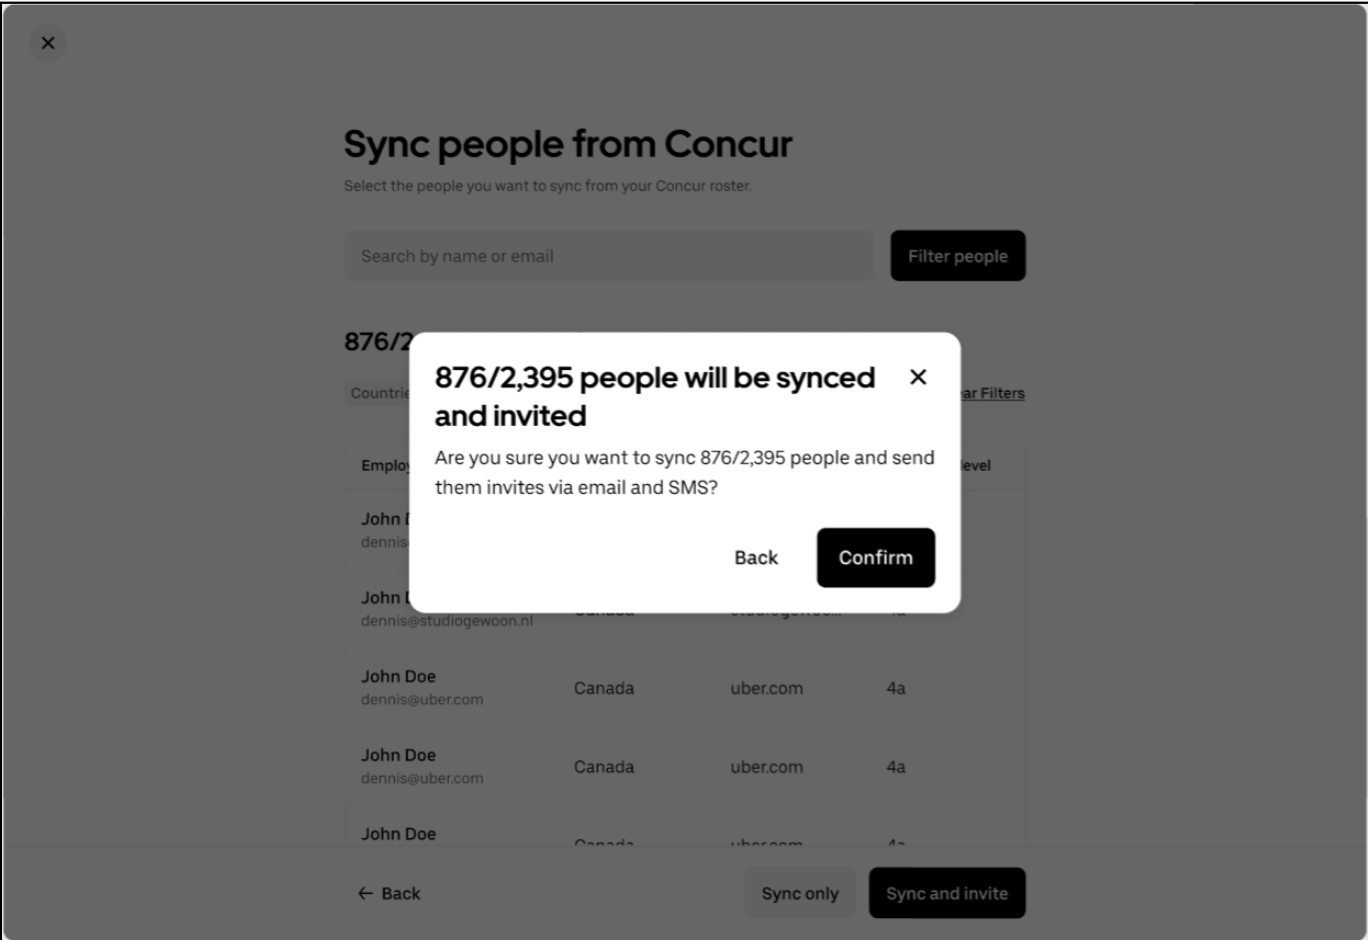
Review and Sync: As the next step, the system will show how many employees will be synced based on your selections.
- You can choose “Sync only” to sync the filtered employees without sending invitations. Invitations can be sent later from the People page once the sync is complete.
- Alternatively, select “Sync and invite” to sync and automatically send invitations to the filtered employees for the selected dashboards.
-
Complete Integration: Once sync is completed, the setup for employee roster sync via Concur is complete. The state of the Concur integration will change to ‘Enabled’ with receipt forwarding and roster sync enabled.

¶ For New Uber for Business Customers Connecting via Concur
The SAP Concur - Uber for Business integration enables organizations to automate expense reporting and keep employee access up to date. Admins can enable the integration directly from the Concur App Center using their Uber for Business admin credentials.
To complete setup, the admin must be both a Concur Admin and an Uber for Business Admin.
-
Connect from the Concur App Center
- Log into your Concur Admin account.
- Go to the App Center and search for Uber for Business.
- Click Connect and review the Terms & Conditions.
- Click Connect again to continue to the Uber for Business integration page.
-
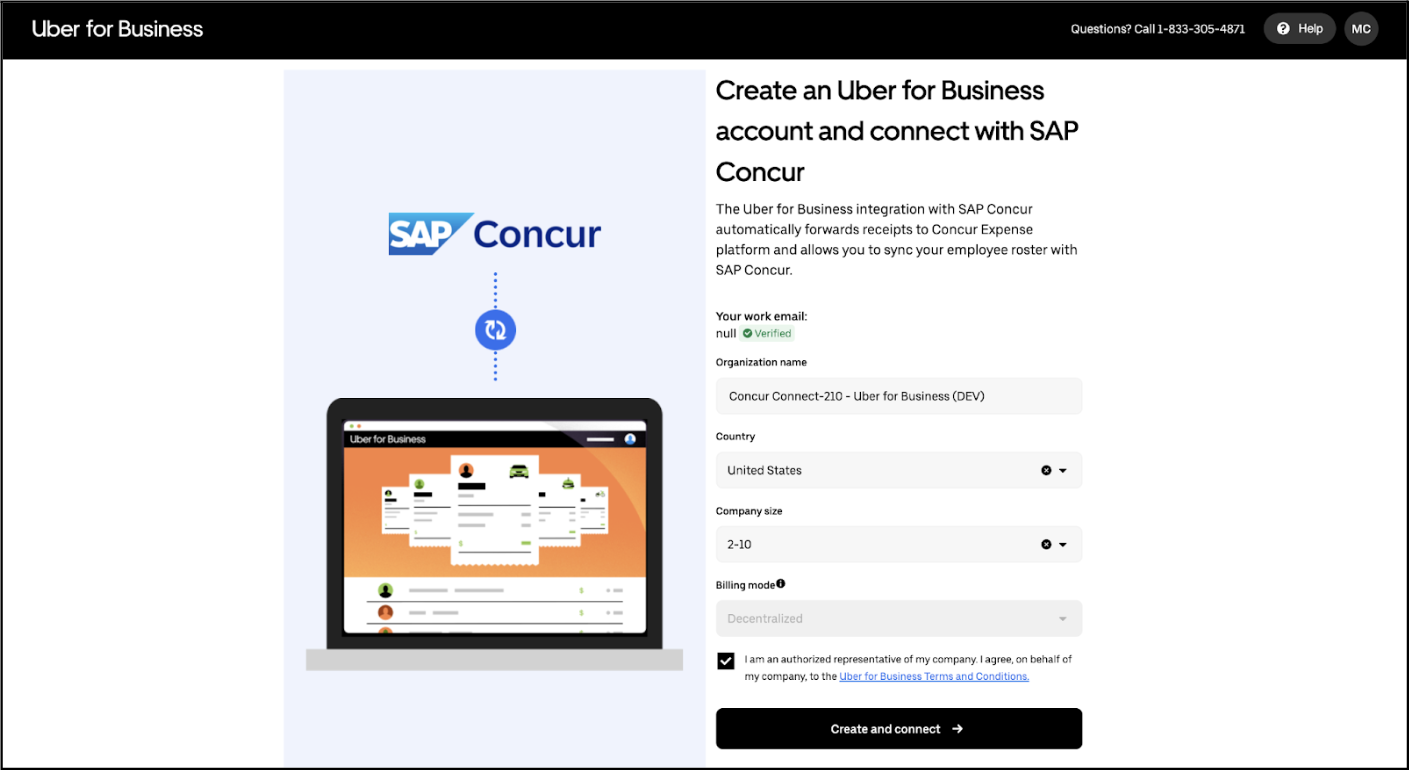
Create Your Uber for Business Account: If your company does not already have a dashboard, you’ll be prompted to create one.
- Click Create another company account.
- On the setup screen, enter:
- Organization name
- Country
- Company size
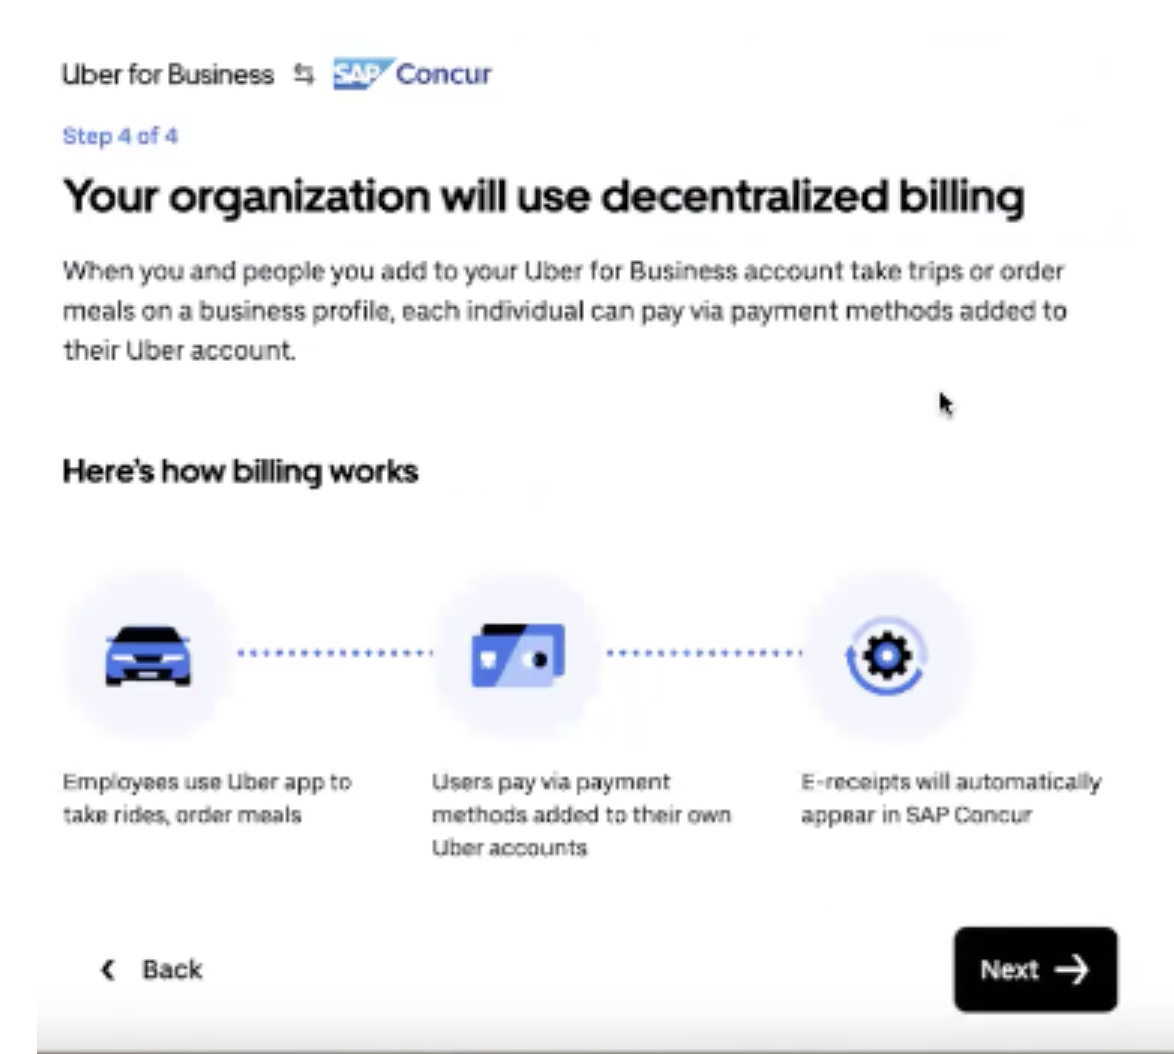
- Billing mode (select Decentralized Billing - required for Concur integration).
- Agree to the terms and click Create and connect.
This step creates a new Uber for Business dashboard automatically linked to your Concur admin account.
-
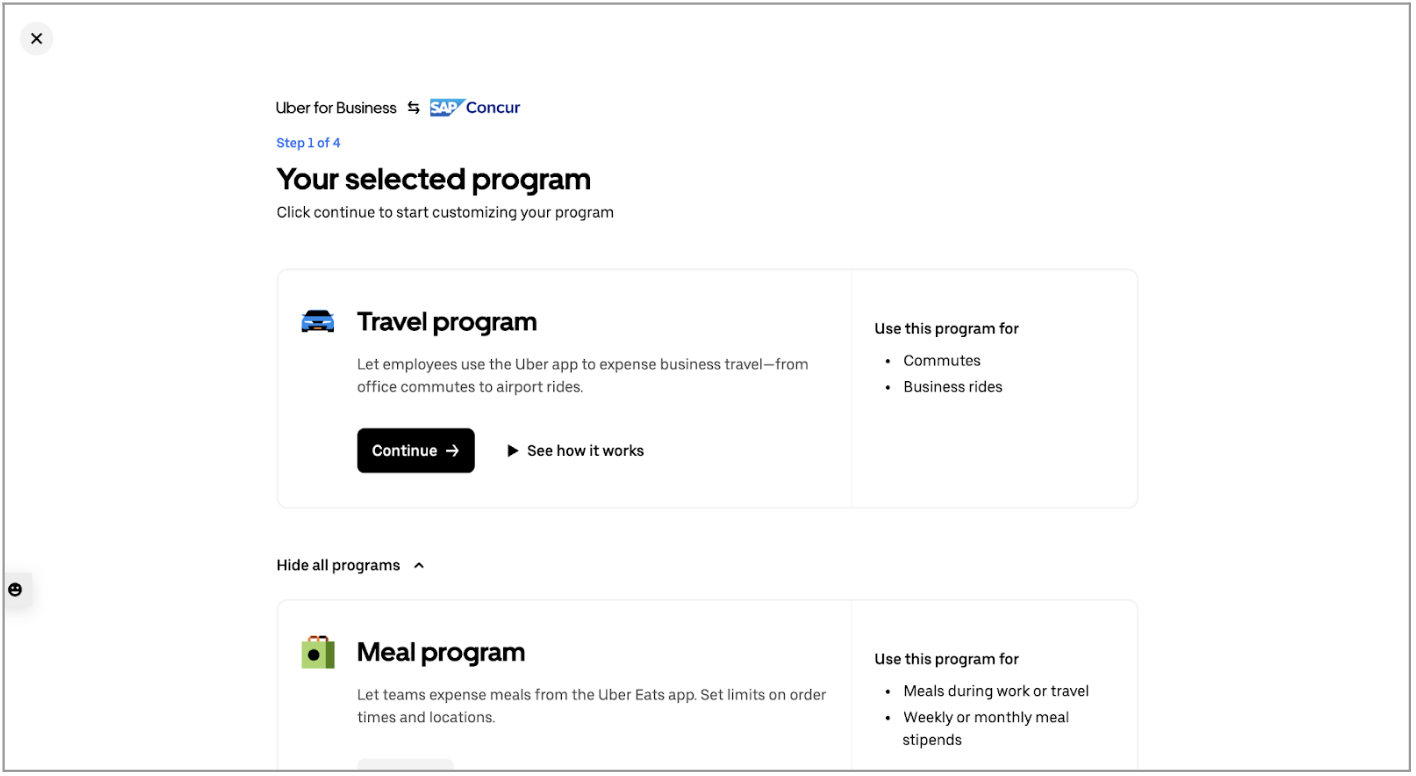
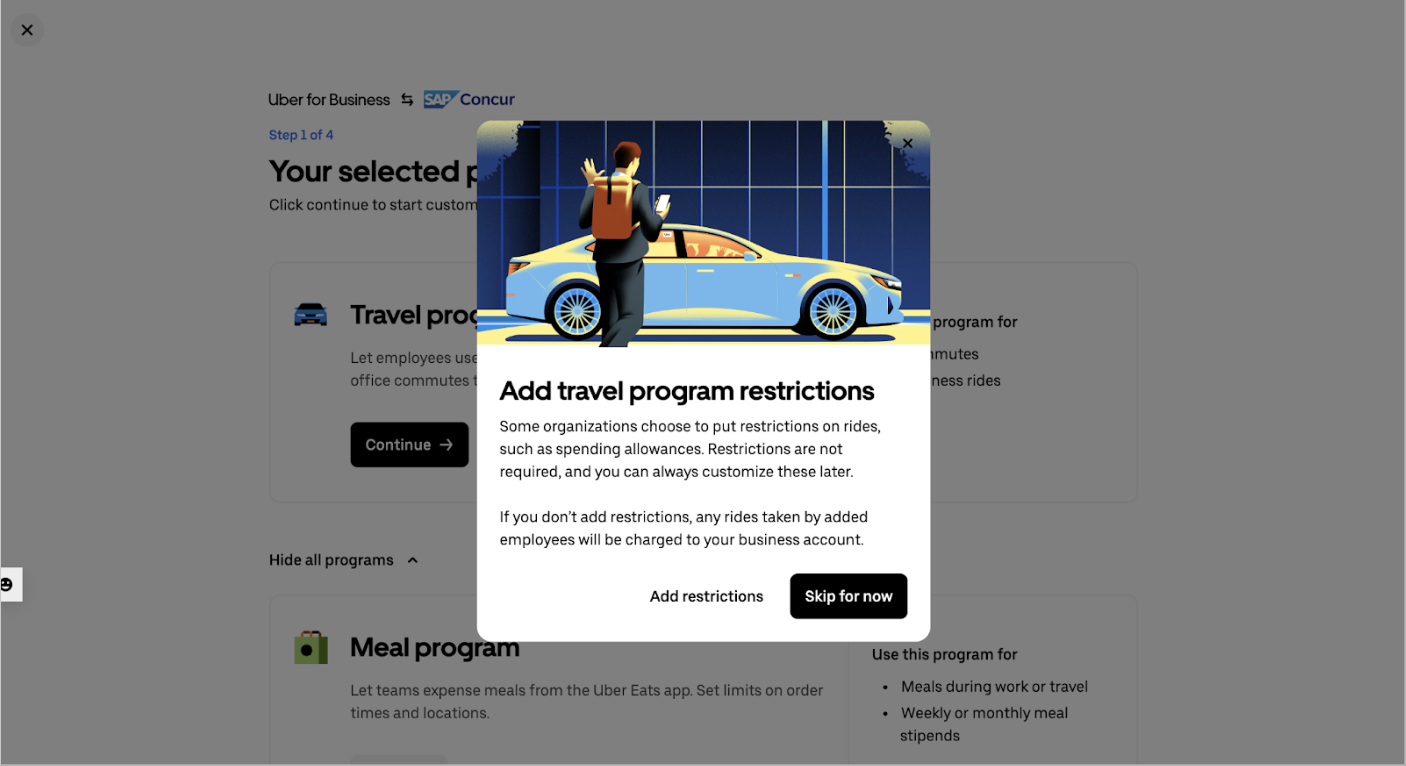
Program setup: As next step, choose how you want to set up the Uber for Business dashboard by selecting the right program set up for your dashboard.
- Click on Continue Account Set up
- Continue to select the relevant program type
- Set up program restrictions if needed Once the program is set up, the newly created dashboard will be enabled within e-receipt forwarding - Uber trip and meal receipts will flow automatically to Concur.
-
Choose Concur Features: Click on next to enable:
- Receipt Forwarding is automatically enabled for the organization
- Employee Roster Sync is optional and requires accepting data-sharing permissions to activate once enabled
-
To enable employee roster sync, accept the data-sharing permissions. Once permissions are granted, the system will automatically begin syncing your Concur employee roster. This process may take a little while as the system fetches employee data from Concur. For more information about data sharing between SAP Concur and Uber for Business, refer to this link.
-
People selection page: You can either select specific people to sync to your Uber for Business dashboard or click on “Filter People” to use advanced filters to select and sync a subset of people to your dashboard.
-
Choose and Apply Filters: Choose up to three filters (examples: Department, Country, Email Domain, or Employee Level etc. as available in your Concur roster). For each filter:
- Select the values to include or exclude (e.g., Country = USA and Australia, or Email Domain ≠ example@gmail.com).
- Add multiple values by separating them with commas.
- Once filters are defined, click Apply filters to confirm.
-
Review and Sync: As the next step, the system will show how many employees will be synced based on your selections.
- You can choose “Sync only” to sync the filtered employees without sending invitations to the selected dashboards. Invitations can be sent later from the People page once the sync is complete.
- Alternatively, select “Sync and invite” to sync and automatically send invitations to the filtered employees for the selected dashboards.
-
Complete Integration: Once sync is completed, the setup for employee roster sync via Concur is complete. The state of the Concur integration will change to ‘Enabled’ with receipt forwarding and roster sync enabled.